Create Workspace
Now, that you have your team on trovebase, follow these four simple steps to launch your first workspace and connect your tools:
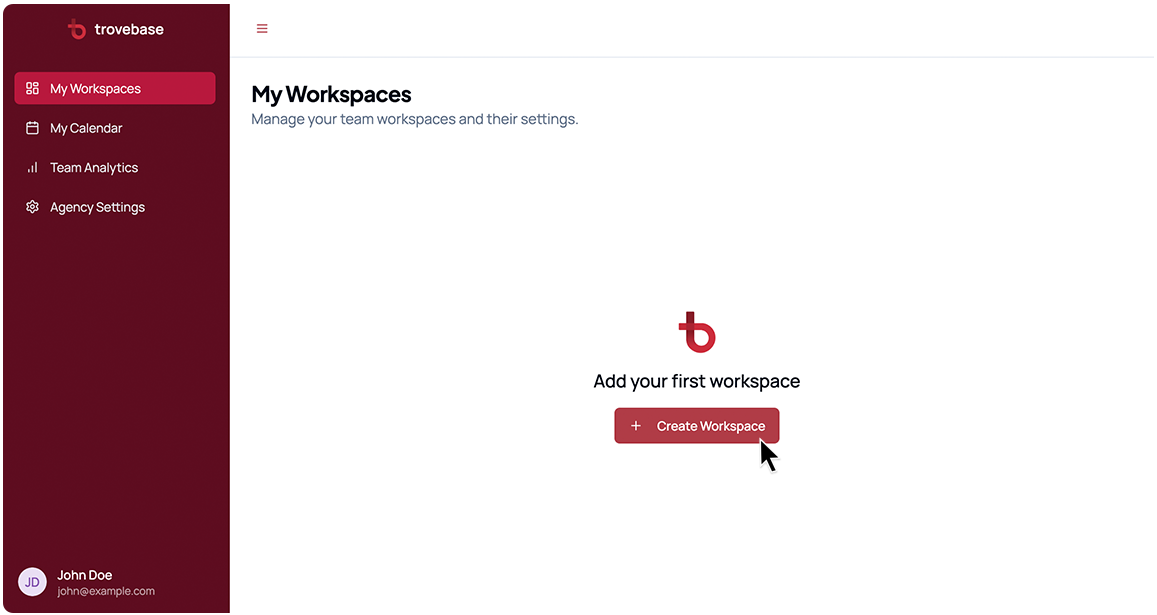
Create Your First Workspace
Navigate back to My Workspaces and click the Create Workspace button.
We highly recommend you make a workspace for each client. Trovebase is set up for agencies in a way that each client is a workspace.
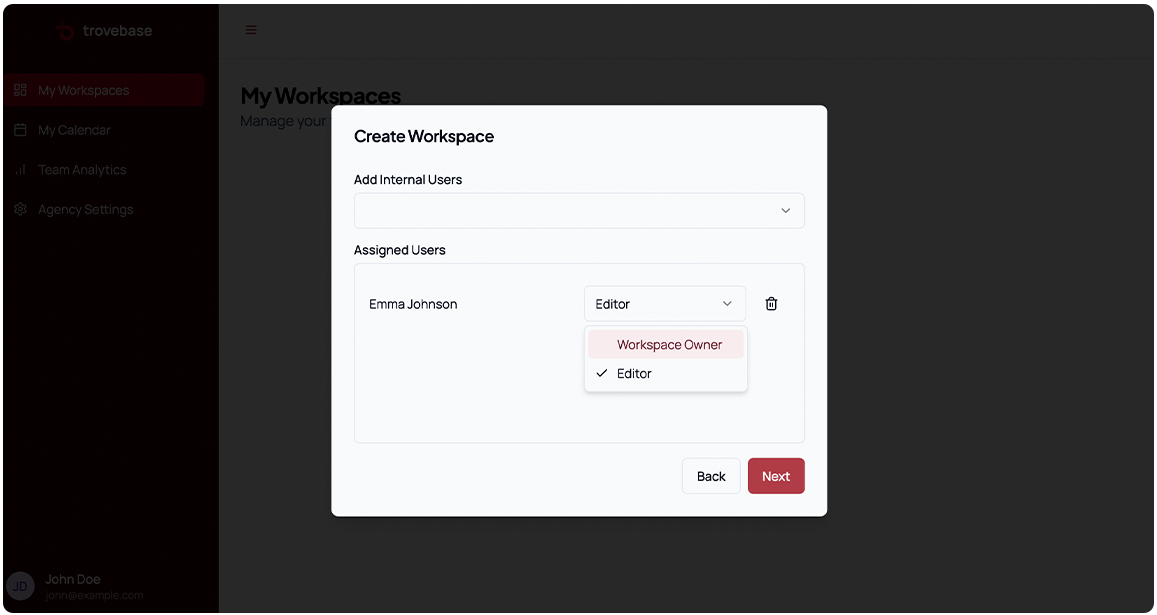
Assign Team Members to a Workspace
Assign your dedicated team to a workspace to support clients across design, strategy and account management. These team members can be:
- Workspace Owners have owner access across all products in the workspace. They can assign more team members to a workspace, and add client-side approvers too.
- Editors only have edit access on work products.
You need to have at least 1 workspace owner to finish creating a workspace. Read more about user roles.
Assign Clients to a Workspace
Last step. Add your client-side approvers. On our Starter and Agency plans we offer one client-side external approver to be added to each workspace. If you exceed the number of users you’re allowed to add on your plan, you can purchase more users in the Agency Settings, under Billing.